
Welcome to a game-changing tutorial on leveraging cloud resources for your benefit. In today’s digital landscape, having access to a remote desktop environment can be a lifesaver for testing, development, or simply accessing a secure workspace on the go. In this guide, we are going to walk you through a fascinating method to create your own Windows 10 Remote Desktop Protocol (RDP) connection completely for free using GitHub Actions and Ngrok. This open-source method allows you to spin up a Windows 10 environment without spending a penny. Whether you are a developer or a tech enthusiast, get ready to dive into a powerful workflow that you can recreate whenever you need it.
11. Gathering the Essentials
Before we jump into the configuration, we need to ensure you have the necessary tools at your disposal. The beauty of this method lies in its simplicity; you don’t need expensive hardware or software licenses. First, ensure you have a valid email address to manage your accounts. Second, you will need a standard web browser—Chrome, Firefox, or Edge will work perfectly. Finally, and most importantly, you need the specific workflow script (YAML code). This code acts as the blueprint for the automation process. Make sure you have this code copied and ready to go, as it is the engine that drives this entire setup.
22. Setting Up Your GitHub Fortress
The foundation of this project is a GitHub account. If you are already a user, simply sign in. If you are new to the platform, head over to GitHub and create an account using your email address—it only takes a few minutes. Once you are inside your dashboard, locate the green ‘New’ button to start a new repository. You can name this whatever you like, but a descriptive name like ‘Free-Windows-10-RDP’ helps keep things organized. Here is the critical security step: under the Privacy Settings, you must select ‘Private’. This ensures that your remote desktop environment remains secure and inaccessible to unauthorized users.

33. Deploying the Workflow Code
With your private repository ready, it is time to inject the logic. Navigate to the ‘Actions’ tab located in the top menu of your repository. You will see an option labeled ‘set up a workflow yourself’—click this to open the web-based file editor. This generates a default YAML file. Delete any existing code you see in this editor and paste the specific workflow code you gathered in step one. This script tells GitHub Actions exactly how to provision the Windows 10 environment. Once pasted, click the ‘Commit changes’ button and confirm by selecting ‘Commit new file’. Congratulations, your automated workflow is now live and ready to run!
name: Windows 11 RDP (Ngrok)

on:
  workflow_dispatch:

jobs:
  rdp-access:
    # 'windows-latest' currently points to Server 2022.
    # Use 'windows-2025' if available for your account, otherwise standard Latest works best.
    runs-on: windows-latest

    steps:
    - name: 1. Enable RDP & Firewall
      run: |
        Set-ItemProperty -Path 'HKLM:\System\CurrentControlSet\Control\Terminal Server' -name "fDenyTSConnections" -Value 0
        Set-ItemProperty -Path 'HKLM:\System\CurrentControlSet\Control\Terminal Server\WinStations\RDP-Tcp' -name "UserAuthentication" -Value 1
        Enable-NetFirewallRule -DisplayGroup "Remote Desktop"

    - name: 2. Set User Password
      run: |
        # Sets password for the default admin user 'runneradmin'
        $pass = ConvertTo-SecureString "P@ssw0rd!" -AsPlainText -Force
        Set-LocalUser -Name "runneradmin" -Password $pass

    - name: 3. Install & Start Ngrok
      env:
        NGROK_AUTH_TOKEN: ${{ secrets.NGROK_AUTH_TOKEN }}
      run: |
        # Clean install using Chocolatey
        choco install ngrok --no-progress

        # Authenticate
        ngrok config add-authtoken $env:NGROK_AUTH_TOKEN

        # Start ngrok in the background (Non-blocking)
        Start-Process ngrok -ArgumentList "tcp 3389"

        # Give it 10 seconds to establish the tunnel
        Start-Sleep -Seconds 10

    - name: 4. Get Connection Info
      run: |
        # Query local Ngrok API to get the public URL
        try {
          $tunnels = Invoke-RestMethod http://localhost:4040/api/tunnels
          $url = $tunnels.tunnels[0].public_url
          $cleanUrl = $url.Replace("tcp://", "")

          echo "::notice title=RDP Address::$cleanUrl"
          echo "::notice title=Username::runneradmin"
          echo "::notice title=Password::P@ssw0rd!"
        } catch {
          Write-Error "Ngrok failed to start. Check your Auth Token."
        }

    - name: 5. Keep Session Alive
      run: |
        Write-Host "Session is active. Press Cancel Workflow to stop."
        while($true) { Start-Sleep -Seconds 60 }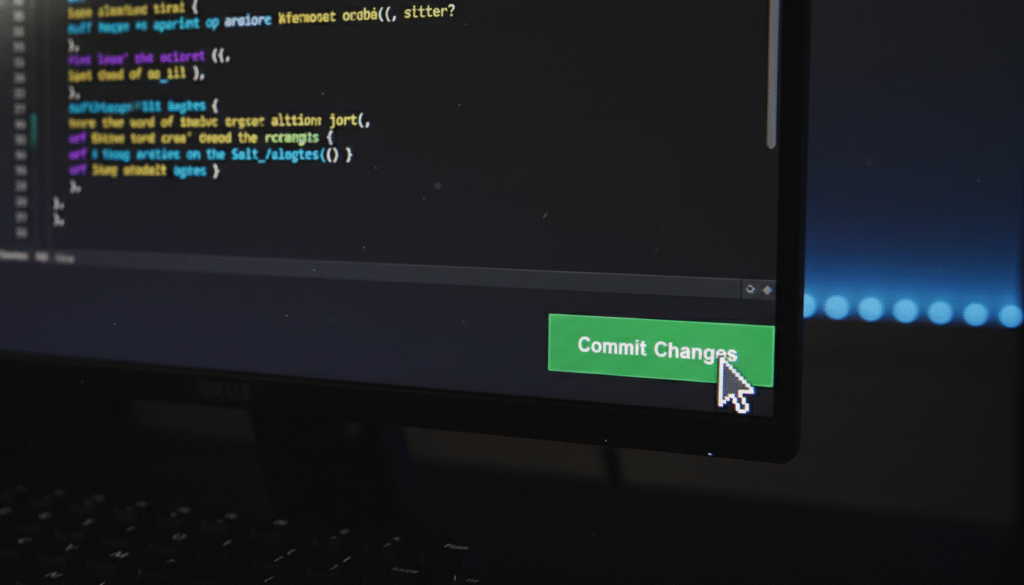
Conclusion
You have now successfully configured the backend of a free Windows 10 Remote Desktop using the power of GitHub Actions. By following these steps, you have created a private, secure, and cost-effective solution for remote computing. This setup not only demonstrates the versatility of continuous integration tools but also provides you with a valuable resource accessible from anywhere in the world. Feel free to explore the environment, run your tests, and remember—if the session ends, you can simply re-run the workflow to get back online!